As experts in the screen printing industry, we understand the importance of a clean, well-maintained screen for producing high-quality prints. Learning how to remove emulsion from screen is a skill that should be mastered by anyone interested in screen printing. While it might seem daunting, with the right knowledge and tools in hand, this can be a smooth and efficient task.
We will delve into the intricacies of emulsion removal and offer a step-by-step explanation of the process. We will also offer insight on removing hardened emulsions, their common causes, and how to avoid them.
How to Remove Emulsion From Screen
Whether working in a home studio or a professional setting, as we do, keeping the working environment clean is essential. We say this from experience: operating with clean stencils, containers, and tools makes printing safer and less wasteful. This is why we advise reclaiming screens as soon as possible.
So, we use a commercial emulsion remover that we spread across both sides of the screen to remove the emulsion from used screens. We then spread it evenly using a brush, and finally, we rinse off the remover. This is a simplistic explanation of our approach, but we explained it in detail below.
Moreover, manufacturers use different methods when removing emulsion from screens. However, all these methods are based on the same technique and carry small variations. Before we begin explaining how to remove emulsion from screens, we first want to take the time and discuss the needed equipment.

What tools or materials are needed to remove emulsion from a screen?
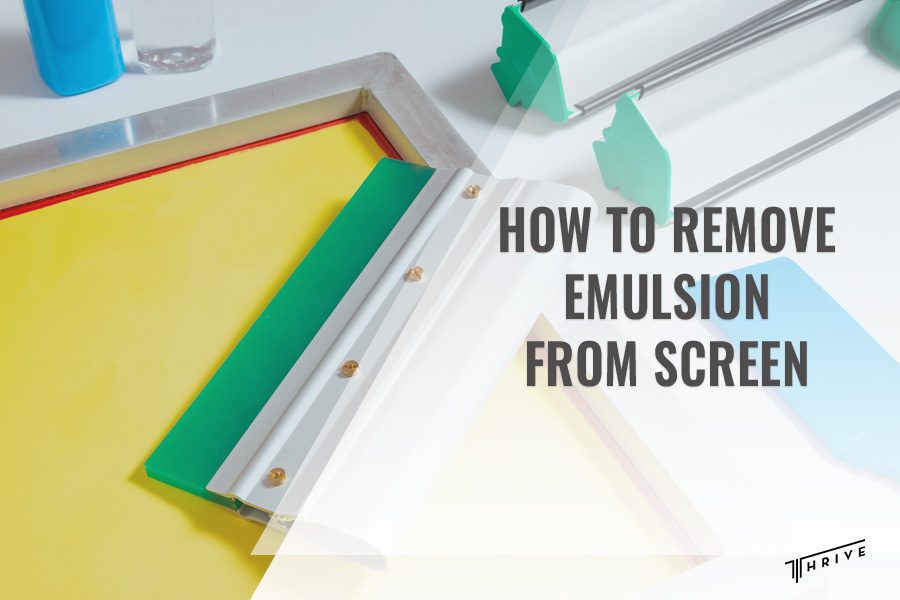
You’ll need specific tools and materials to effectively remove emulsion from a screen. These include a stencil or emulsion remover, a scrub brush or pad, a pressure washer or hose, and a soak tank or container.
The stencil remover is a chemical solution that breaks down the emulsion, making it easier to wash away. A scrub brush helps loosen the emulsion, while a pressure washer ensures thorough removal.
To make the emulsion removal easier, we like to ensure minimal leftover ink is involved. This is why we use a squeegee to remove residue ink before beginning the emulsion removal procedure.
What is the best method for removing emulsion from a screen?
As we mentioned earlier, there are plenty of emulsion removal methods, and choosing the best one becomes difficult. This is why the best screen printing company chooses the one that can fit varying needs.
Generally, some removal techniques are better suited for some screens than others. The only way to find the one that works for your screen is through trial. Thus, below, we will explain the best method for us and leave it up to you to decide if it suits your preferences.
Step-by-step process
We begin this process by applying stencil remover evenly across both sides of the screen. Having the screen faced horizontally with the print side up gives us a good operating angle. Once done, we let the stencil cleaner sit for a few minutes to work up the emulsion.
You need to be careful not to let the emulsion remover sit for too long. While we must let it sit for a minute or two to do its job, leaving it to dry out will make the emulsion removal process more challenging.
Next, we gently agitate the emulsion using a scrub brush to help loosen it. After a few minutes of using the brush, we recommend cleaning it immediately. If you fail to do so, the brush will stiffen and won’t be suitable for use in your future emulsion removal practices. Finally, we use a hose to remove all emulsion residues from the screen.
How long does the emulsion removal process typically take?
It mainly depends on the condition of the stencil. The procedure we explained earlier can help remove emulsion from a recently used screen within minutes.
However, removing a hardened emulsion might take up to an hour, depending on the condition of the stencil. It’s essential to approach this process patiently, as rushing can damage the screen. Remember, the goal is not just to remove the emulsion but to preserve the screen’s integrity for future use.

How Do You Remove Hardened Emulsion?
Removing hardened emulsion requires a bit more effort. However, while softening the emulsion might be possible in some situations, if the emulsion locks onto the screen, it can become non-removable. Still, some helpful practices are worth the effort before deciding whether the emulsion is not removable.
The standard pressure used for optimal removal is between 1000-1500 PSI. Slightly increasing the pressure can help soften hardened emulsion and might be a good solution in some scenarios.
Increasing the amount of emulsion removal can also be a good practice. However, if all these efforts fail to bring results, the only thing left to do is dispose of the mesh by cutting the screen with a razor or a knife.
Common reasons for hardened emulsion
When explaining how to remove emulsion from screen, we have to emphasize the role of proper printing practices. As sometimes even when trying to remove the emulsion promptly, the results of the practice might be unsatisfactory. Some of the reasons why emulsion hardens and becomes difficult to handle include the following:
Uncured emulsion
If the emulsion is not completely dry before exposure, the wet emulsion will reside inside. It will react with inks and chemicals during printing and remain locked below the surface. When this happens, removing the emulsion from the screen becomes difficult, if not impossible.
Uneven coating
Improper coating is often the cause of this problem. An uneven coating is recognized by the emulsion being harder to clean in some areas. When only parts of the screen are more stubborn and challenging to clean, uneven coating is the root problem. We should mention that uneven layering usually results from too much coating on the screen.

Conclusion
Understanding how to remove emulsion from screens is vital in screen printing. Using the right tools and an adequate method may bring optimal results. However, the removal process’s success depends on the stencil’s condition.
In cases of hardened emulsion, even a well-tailored emulsion removal process might not be effective. This is why it’s important to remember that timely removal and proper screen printing practices play a key role in the overall success of the removal procedure.

Robert Fisher is the founder and CEO of Thrive Screen Printing and brings extensive experience in the screen printing and fulfillment industry.