Screen printing can be an exciting way to transfer creative artwork onto shirts from various materials. However, printed designs require curing for quality and longevity. At Thrive Screen Printing, we believe in delivering excellent quality. In this guide, we will walk you through how to cure screen printed shirts.
Continue reading to discover how curing screen-printed shirts works and what to do to keep them vibrant and durable. Learn how to achieve flawless results every time and create a product you will love for years to come!
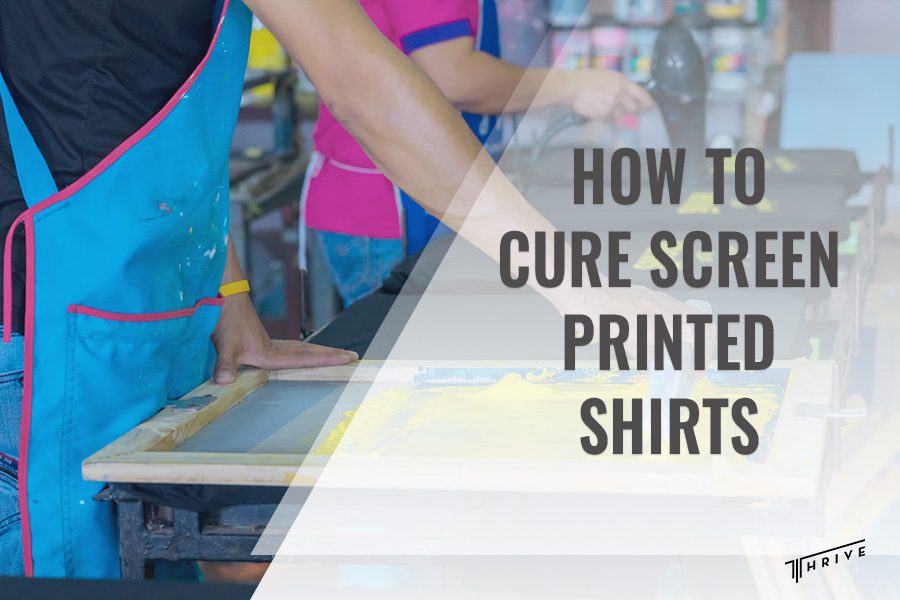
Curing Screen Printed Shirts
When it comes to creating custom apparel, screen printing stands out as a versatile option. This is a popular and effective method of printing custom designs on fabric and paper. But does screen printing ink need to be cured?
Curing is necessary to achieve a professional finish and ensure the design remains sharp and durable. It involves setting the ink onto the fabric, preventing it from transferring onto other fabrics and making it resistant to fading, cracking, and peeling.
If you are on the quest for affordable screen printers near you, you are at the right place. At Thrive Screen Printing, we have top-notch, effective, and reliable equipment for creating custom prints that won’t break the bank.

How to Cure Screen Printed Shirts – Tips and Techniques
Curing makes the prints not only visually appealing but long-lasting, as well. That way, you can get durable apparel that you can wear repeatedly. There are different ways of curing intended to provide the desired results. So, how do you heat cure screen print? Let’s get into the details!
Prepare workspace and gather essential materials
Before you dive into the curing process, it is necessary to set up a clean and organized workspace. Make sure there is proper ventilation and access to necessary equipment and materials. These include:
- Curing unit
- Screen-printed shirts
- Screen printing ink
- Conveyor dryer or heat press
- Timer and thermometer gun
- Parchment paper or silicone sheets
Choose the right ink
When it comes to curing screen-printed shirts, selecting an industry-standard and top-notch ink is paramount for vibrant colors and exceptional durability. Plastisol and water-based ink are the two most common inks used for screen printing.
The plastisol is durable, versatile, and provides vibrant colors. In comparison, the water-based ink is less opaque but is eco-friendly and offers a soft feel on the hand. Before curing, you must ensure your design is aligned correctly and printed on the shirts through the use of screen printers.
When curing, you heat the ink to adhere to the fibers, causing a chemical reaction to bind the fibers to the ink. To get the ink bound with the garment, you need to employ a heating method. You will need to heat the fabric inks anywhere from 270-330° Fahrenheit, depending on the screen print ink.
Preparing the curing equipment
When using a heat press, set it to the correct temperature and pressure, depending on the ink manufacturer’s recommendations. If you are using a conveyor dryer, set it to the recommended temperature and belt speed based on the ink you use.
Ensure the printer is correctly calibrated, and the ink is applied evenly to the shirt. Doing so guarantees consistent curing across all prints. Once you print the shirt, you can consider using a flash curing unit to set the ink partially. This prevents smudging and ensures crisp and sharp designs.
Testing the temperature
While this is optional, ensuring an accurate temperature can be very beneficial for a consistent curing process. Use a thermometer to measure the ink’s surface temperature. Also, pay close attention to the time and temperature when curing.
Curing techniques
When curing, consistency is the hallmark of quality and crucial for achieving successful outcomes. But can you cure screen print with heat press? Absolutely. In fact, the heat press makes curing more accurate and much more manageable. To cure screen-printed polyester garments, it is recommended to use a heat press or a conveyor dryer.
Heat press
Here is a step-by-step guide on how to cure screen-printed shirts using a heat press:
- Pre-heat the press till it reaches the recommended temperature for the ink
- Place the shirt on the press and ensure it is flat and smooth
- Place a parchment paper or silicone sheet over the printed area to prevent the ink from sticking.
- Close the heat press for a few seconds and apply even pressure. Remember to follow the recommended guidelines for time and temperature by the ink manufacturer.
While curing with a heat press can be costly, it tends to be simpler, more precise, and gives better results than other methods. Heat presses are convenient to operate and versatile and enable precise temperature control.
Heat presses work with both plastisol and water-based inks and often feature timers, pressure gauges, and temperature readers for easier use. They require minimum maintenance and are generally energy-efficient.
The heat press allows you to apply pressure across the whole design surface and accurately measure temperature. Heat presses are usually used with water-based inks without any additives.
Conveyor dryer
The conveyor dryer is the most expensive option for curing. It is easy to use and is usually used for high-volume screen printing orders. If you are using a conveyor dryer to cure the shirts, adhere to the following steps:
- Place the shirts on one end of the conveyor belt and ensure enough space between each shirt for even heat distribution.
- Input the necessary settings on the machine and adjust the belt speed to allow sufficient time for curing.
Typically, it takes between 45-60 seconds for plastisol inks to cure at the recommended temperature. Once the garment is cured, it will pop up on the other side. If the conveyor dryer has air circulation, it can cure water-based ink.
Other Methods for Curing Screen Printed Shirts
Heat gun
A heat gun is a good option for low-volume prints. Heat guns are affordable, easily accessible, portable, and consume less energy than large curing equipment. It is the most cost-effective method of curing but requires practice until you get it right to work as desired.
However, you need to employ this method carefully to avoid burning the fabric as it doesn’t allow even heat as the other methods. Instead, it provides a single and concentrated heat and can be challenging for controlling the heat.
In such a case, you can use a laser temperature sensor to help you out. That said, this method doesn’t work with all types of ink, such as water-based fabric ink, without additional additives.
Flash dryer
Using a flash dryer is a common method for curing screen-printed shirts. It covers a large surface area and takes less time. In a similar way to the heat gun, the flash dryer gives an intense, concentrated heat.
However, compared to a heat gun, the flash dryer enables an easier control of the temperature. To cure the print design, you need to place the shirt onto a flat area and hold the flash dryer for about three inches above the print.
You need to hold it for a specific time, depending on the screen-printed ink you use. An important thing to note when it comes to curing with a flash dryer is that you can only use it to cure water-based ink if you add extra additives.
Hair dryer
A hairdryer is a convenient method for fabric drying. However, it is not suitable for curing plastisol inks and high-temperature curing. While a hair dryer is easy to use, reaching the desired curing temperature using it takes more time. There is also the risk of ink bleeding caused by rapid air blowing.
Can you cure a screen print with an iron?
Yes, it is possible to cure a screen print using an iron. For this method, you need to air dry the garment at room temperature for at least 24 hours after the printing process. This is because if you put the iron on a wet ink, it will smudge.
When curing the screen-printed shirts with an iron, the first thing to do is set it at the right temperature, depending on the ink you are using. We recommend setting the iron to 320°F and ironing it for about two minutes.
Place the printed material on a flat surface and make sure it is facing upward to prevent creasing. You can cover the printed design with a protective sheet like brown paper to prevent the ink from sticking.
Once your iron heats, it is time to apply the heat to the printed artwork. Apply firm pressure and move the iron across the entire printed area for an even heat distribution. Do this step for about 2 minutes until the ink is cured. Let the material cool off, and peel the protective sheet.

How Do You Treat a Shirt After Screen Printing?
After curing the shirts, allow them to cool down before handling. This will help the ink to set correctly. Examine the cured area for any imperfections. Look for any signs of incomplete curing, like tackiness and smudging.
If there are any issues, adjust the curing settings accordingly. Allow the shirts to cool down completely before you stack or fold them to prevent sticking. Address issues promptly to maintain high standards. After curing the ink, you can test it by gently stretching the fabric and washing it several times to check whether the ink will fade.
Conclusion
If you are looking to achieve high-quality and durable prints, proper curing is an essential step to make. In this post, we provided a guide on how to cure screen-printed shirts and ensure your designs remain vibrant and long-lasting.
We are dedicated to providing you with the tools and knowledge to achieve the desired results successfully. By following these steps and using our printing services, you can create stunning prints that stand the test of time.

Robert Fisher is the founder and CEO of Thrive Screen Printing and brings extensive experience in the screen printing and fulfillment industry.