So, you’ve decided to print your own boxes for your business. If you already have the needed printing equipment – great! However, if you’re learning how to print on a box entirely from scratch, you’ll need the 101 on materials, box and mesh size, and design software.
While it all may seem overwhelming at first, many small business owners go down the DIY route when it comes to their custom business boxes. Not only is printing cost-efficient, but it also gives you the freedom to personalize the process from start to finish.
Below, we’ll give you the rundown on screen printing on cardboard boxes and provide a straightforward printing guide you can master in just a few hours.
How to Print on a Box From Start to Finish
If you want to learn how to make a custom packaging box, you need to cover the basics first. Below, we’ll help you get started with the whole process, from the moment of choosing the materials to drying your custom box.
Once you have enough capital to grow your venture, you can rely on a good screen printing marketing business for all your design needs. Until then, try to make the most of your limited budget – we’ll start with materials, explain how to print boxes, and then move on to other pre-printing must-haves.

Box printing explained step by step
There’s a fairly simple way to screen print on your boxes using vinyl. This is actually the go-to method for small business owners just starting out with printing.
For this method, you’ll need a vinyl sheet for your design, a cutting machine, a needle, transfer tape, frame and mesh, a squeegee, and ink. Later on, you can invest in an entry-level single-station printing press once you’ve mastered this method.
Here are easy step-by-step instructions on how to make a custom packaging box:
- Grab the vinyl paper sheet and pop it in the cutting machine.
- Once your design is on the vinyl sheet, you’ll have to carve it out using an exacto knife.
- Next, put tape over the design and then peel it off to transfer it.
- Center the transferred design on the frame and peel off the tape to leave only the design.
- Tape up the rest of the screen to prevent ink from bleeding in places where you don’t want it.
- Add ink on the mesh, grab your squeegee, and spread it across the screen.
- Push or pull the squeegee multiple times to ensure proper application.
- Reveal your completed box design.
In the end, you’ll have to dry your box. You can either use an actual dryer machine or grab a heat gun, for example, to speed up the drying process. Otherwise, you can leave your box to air dry for no more than 30 minutes.
What to Consider Before Printing a Box
Determine the box size
You should determine the box size according to the size of the items you plan on putting inside. Keep in mind that smaller boxes, say around 6×6 inches, will require smaller frames, as you won’t be able to line up the design well.
Get the right mesh count
A mesh count is the number of threads of polyester that cross each other per square inch of the screen. We recommend a 280 to 302-millimeter mesh count for cardboard if you want an opaque and easy transfer. A rule of thumb is to go for a type of mesh with a lower mesh count for more ink and less detail and a higher mesh count for more detail and less ink.
Get the right ink type
Different types of ink suit different use cases. When it comes to custom printed boxes, it’s best to use water-based ink, as it penetrates the cardboard better. This type of ink air dries as well, so your box should be ready for packing within 10 to 15 minutes.
Speedball acrylic screen printing inks are water-based, non-toxic, and non-flammable, making them excellent for beginners.

Choose the graphic software
This one is entirely up to you, but Adobe Illustrator and Procreate are generally the top choices. Choose graphic software with a learning curve and features that suit your time and needs – just make sure you’re using a vector graphic editor.
Printing multi-color designs
You can also screen print designs using different ink colors. However, you’ll need more than one mesh and frame for this. You’ll just have to mark the edges of your design to be able to line up the two frames perfectly.
Pull vs. Push Stroke – Which Is Better?
When you’re learning how to print on a box, you’ll run into various dilemmas, such as to pull or to push. This age-old question still divides printers, as both techniques have their pros and cons.
Generally, pushing the squeegee requires less strength; however, it’ll take more tries for a flawless finish. Pulling the squeegee is harder but gives better and quicker results.
Note: The angle at which you hold the squeegee is most important here. You want more of an angle (around 45°) and less pressure when pushing.
Tips for Screen Printing on Cardboard Boxes
Once you know how to print a logo on a cardboard box, you can work on perfecting your technique. We’ve included some useful tips to help you improve your design with each new box:
- Unlike printing on clothing, where the material soaks up the ink, the ink remains on top when printing on boxes. This means that you need to use less ink to prevent bleeding.
- For water-based inks, you want to flood the screen or apply just enough pressure to draw a line of ink across the screen without coloring the box. This is to ensure better ink application.
- Use a graphic squeegee for better ink control and application.

Conclusion
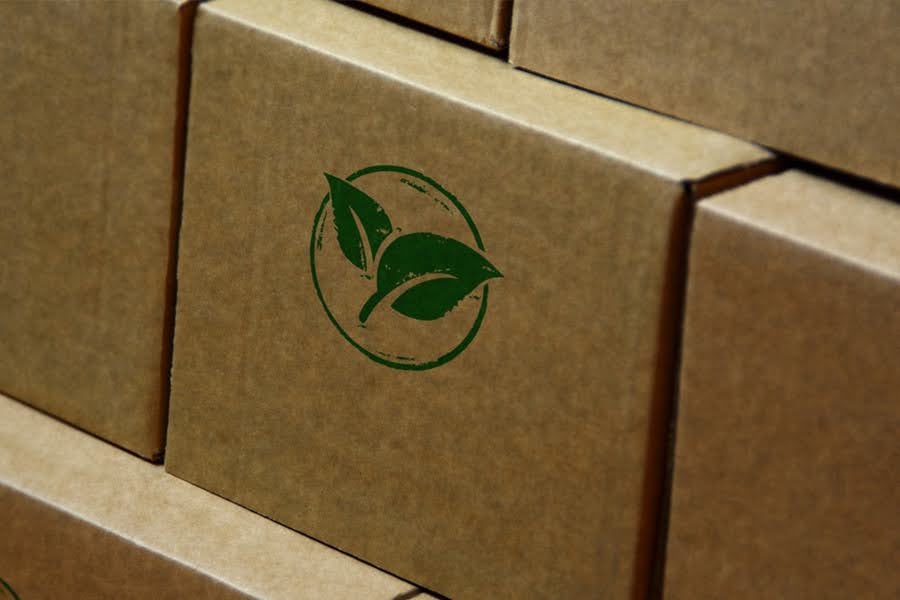
As opposed to digital printing, screen printing cardboard can be done without a computer – all you need is the basic equipment we mentioned above, plus a design and some ink. You can create a box logo in only a few steps and multiple colors.
To learn how to print on a box error-free, follow our top tips – use a graphic squeegee for better control, flood the screen before you start, and use less ink to avoid bleeding.
Finally, you can always leave the printing to the professionals! At Thrive Screen Printing, we will cover all your printing needs for screen-printed T-shirts, tote bags, mugs, and other promotional items. Contact us, and we’ll help you make the right choice for your business project.

Robert Fisher is the founder and CEO of Thrive Screen Printing and brings extensive experience in the screen printing and fulfillment industry.

