In the world of appeal customization, screen print transfers are one of the most sought-after techniques. It offers high-quality prints which are both durable and cost-effective. But for you to enjoy the benefits of the printing technique, we have to adhere to certain screen print transfer instructions.
Although it seems like a straightforward process, screen printing requires a lot of dedication and expert knowledge. It is not as simple as printing the transfer paper and using heat to apply it to your design. When we are printing your design, we take into consideration many aspects such as screen print temperature and time, design complexity, the color of the surface, shirt fabrics, inks, and much more.
Let us reveal the secret formula of a successful screen printing process.
Screen Print Transfer Instructions From Start to Finish
The screen print transfer process goes through different phases. The main ones are preparing the design, printing the transfer paper, preheating the heat press, transferring the design into the garment, and peeling it.
1. Preparing the design
First and foremost, we must prepare the design. If you already have a design, we must transform it so it is screen print transfer-friendly. That means ensuring it is appropriately sized and separated. In the process of preparing the artwork, there are different steps for black-and-white and multi-color designs.
To illustrate, if you have ordered multi-color wholesale screen print transfers, we must find the correct print order. As a rule of thumb, the non-transparent colors from the design must be printed out first.
In addition, we check whether the design has any overlapping colors that might interfere with or ruin the screen print transfer. If needed, we can make some color adjustments to avoid color shifts.
Besides the considerations about the color, the most important one from the screen print transfer instructions is to reverse or mirror the design. If we skip this step and print out the design as it is on the transfer paper, it won’t appear correctly on the garments.

2. Choosing transfer paper and printing the design
According to the screen print transfer instructions, the choice of transfer paper is highly important. When picking a transfer paper for your project, we take into consideration many factors so your garments can thrive, such as:
- The type of printer we use for printing on the heat transfer paper
- The color of the fabric we will be transferring the design – lighter transfer papers are best for printing on brighter colors, while dark transfer papers are good for any fabric color
- Type of artwork, including their design and size
Did you know that transfer papers are not all of the same quality? We choose our transfer paper according to its durability, which is determined according by its elasticity, face and wash resistance, color vibrancy, wax content, resistance to cracking, etc. That’s one of the many reasons why you will get garments with superior quality.
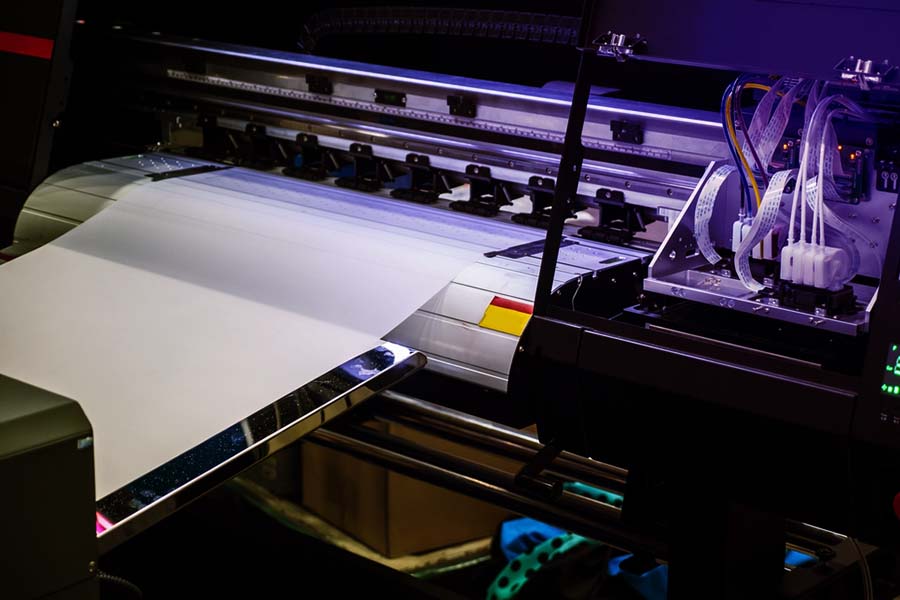
After we have our design ready, and we have chosen the transfer paper, we continue with printing. We can use different types of printers to do it, such as ink-jet and laser printers, and use high-quality ink during the printing process.

3. Heating the heat press for screen print transfers
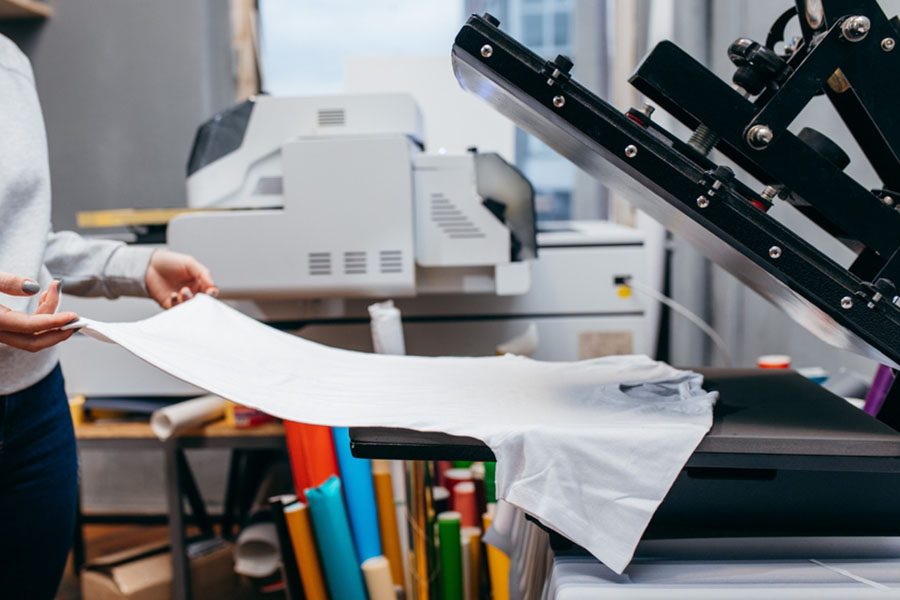
Regarding the technical considerations on how do you do screen print transfers, there are three important things: heat, time, and pressure. As the step-by-step process of screen print transfer implies, next comes preheating the press.
Using the right temperature ensures durable and vibrant prints. Setting the temperature too high might cause burning, discoloration, and scorching, while lower temperatures than the recommended won’t bond the transfer correctly.
So, at what temperature do you press screen print transfers? Since we follow the latest heat transfer screen print application instructions, we preheat the heat press according to the design and the material we are printing on.
The general rules imply heating the press between 320°F and 383°F for most fabrics. Regarding the design, we use a temperature of 325°F for one or two color screen print transfers, while 350°F is best for multiple-color screen print transfers.

4. Time and pressure for screen print transfers
We also carefully determine the duration of the heat and pressure appliance. Each second in the screen print transfer process matters. Calculating the appropriate time is crucial because it allows us to evenly distribute the heat and ensure the design turns out as we desire.
Also, adequate pressure effectively transfers the heat and promotes bonding. Each project has different heat, time, and pressure requirements, so it can result in a high-quality print.
Some general screen print application instructions are:
| Material | Temperature | Time | Pressure |
| General fabric | 320–383°F | 45-80s | Medium to heavy pressure |
| Linen | 420°F | 45s | Heavy pressure |
| Cotton | 320-350°F | 10-15s | Medium to heavy pressure |
| 50/50 blends | 320-350°F | 10-15s | Medium to heavy pressure |
| Synthetic and polyester | 280-300°F | 10-15s | Medium to heavy pressure |
5. Peeling screen print transfer
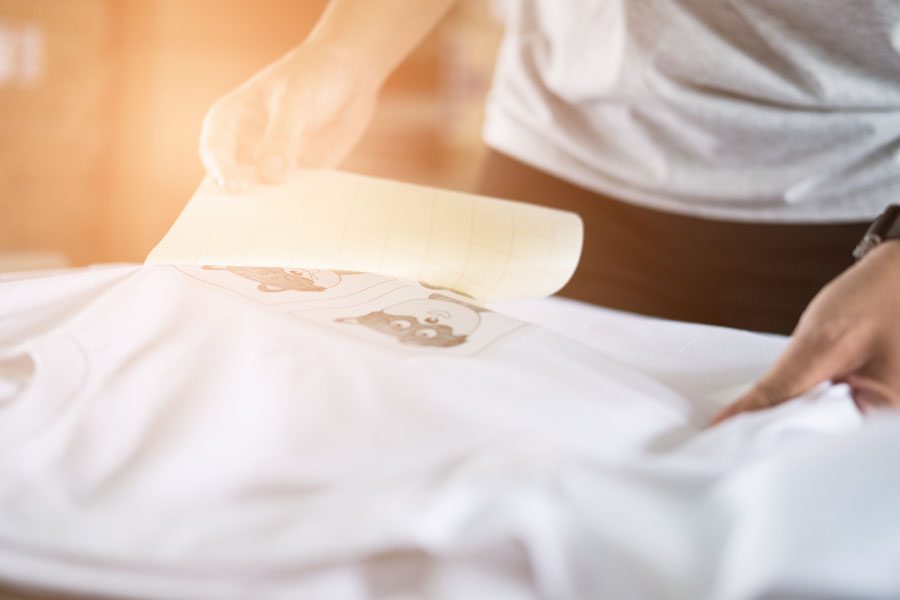
The last step in the screen print transfer process is peeling the transfer paper. While with plastisol ink we can choose between cold and hot peel, screen print transfers must be peeled hot. By hot, we mean instantly after pressing. The transfer paper should be easily peeled.

Conclusion
If your business needs a high-quality screen print or screen print transfer, our team at Thrive Screen Printing is ready to exceed your expectations. By following the screen print transfer instructions and using our decades of experience, we can put even the most complex designs on various garments for you. Contact us today and place your order.

Robert Fisher is the founder and CEO of Thrive Screen Printing and brings extensive experience in the screen printing and fulfillment industry.

