Screen printing is a popular and effective technique for creating vibrant, detailed, and long-lasting designs on various surfaces. Mastering this art opens a world of creative possibilities. That said, learning how to set off-contact screen printing can revolutionize your printing experience and yield professional results.
Therefore, in this guide, we will walk you through the essential steps to create your prints successfully. Continue reading and elevate your printing game with our expert tips!
What Is Off-Contact Screen Printing?
In order to create excellent screen prints, you need to get familiar with the concept of off-contact screen printing. This practice involves creating a slight distance between the bottom of the screen and the platen during the printing process.
This gap allows the ink to transfer smoothly, prevents smudging, and ensures precise prints. But how does this process actually work? Let’s walk you through the details.

Understanding off-contact screen printing
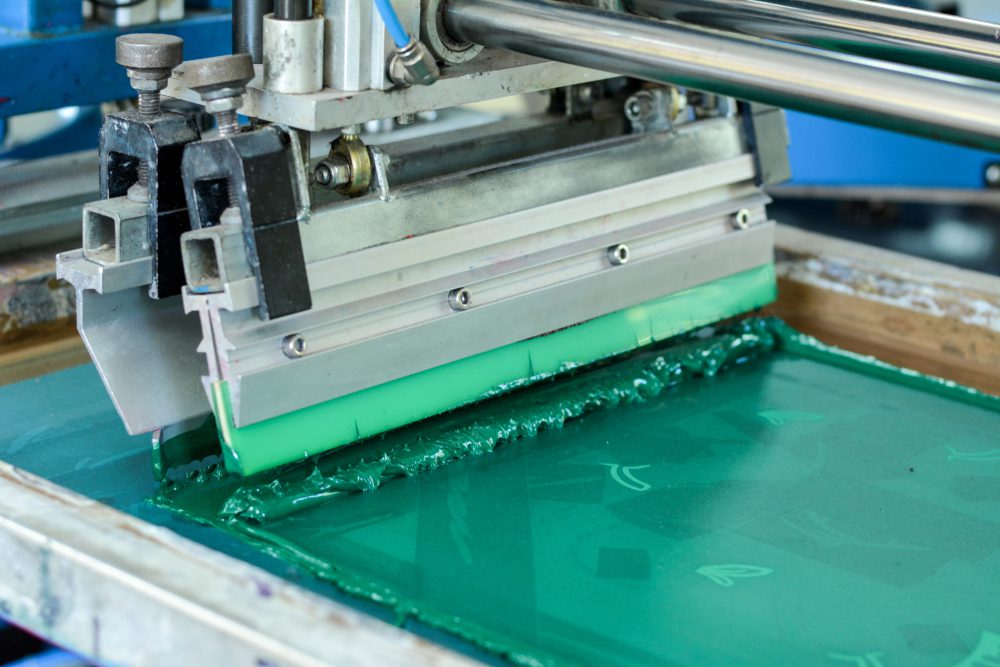
The purpose of off-contact screen printing is to prevent the ink from sticking to the surface as you pull the squeegee across the screen. During the printing process, you fill the screen with ink and pull the squeegee across the printing screen, pushing the ink through the stencil to create a printed image.
Once you lower the screen onto the substrate, the screen mesh and substrate need to be slightly apart. If not, the ink will probably smear onto the substrate. This gap will also give you control over the sharpness of your print. Hence, mastering this can significantly elevate your printing skills.
As a professional printing company, we recommend experimenting with different variables to unlock the door to professional-quality prints. Also, check out our contract screen printing services to help achieve the best possible results. So, let’s get into the step-by-step guidelines on how to set off contact screen printing.
Step-By-Step Guide on How to Set Off-Contact Screen Printing
Make sure you have the necessary supplies and tools for off-contact printing. You will need equipment such as:
- Screen frame (must be sturdy and in good condition)
- Squeegee (Choose the right size for your project)
- Substrate (Select the desired substrate on which you would like to print)
- Off-contact spacers (Use shims, coins, or purpose-built spacers to achieve the ideal space)
Step 1 – Preparation
Once you get the necessary tools and materials, thoroughly clean your screen. The purpose of this step is to avoid any unwanted residue on your screen and achieve sharp results. So, align your substrate and secure it in place. Start by adjusting your screen and substrate alignment to set up for printing success.
Step 2 – Adjust off-contract
If you are using a printing press, an off-contact adjustment knob on a screen can be a valuable feature for this practice. Otherwise, place the spacers or shims under the screen frame to create a small gap between the screen and the substrate.
The right screen printing off-contact distance depends on what you are printing and what you are printing with. The surface thickness and mesh tightness affect your needed off-contact distance. So, how much off-contact screen printing do you need?
Setting off-contract distance
The gap is typically anywhere between 1/32 and 1/16, depending on what you are printing. For instance, if you are printing on a thicker material, you will need more of a gap and a taller shim. Conversely, if you are using plastisol ink, then you need a taller off-contact. Some printers prefer a distance of 1/16 to 1/8.
As a rule of thumb, set the distance to a height about the thickness of a dime. Generally, 1/16 of an inch is for lighter substrates like T-shirts, whereas 1/8 is for thicker substrates like fleece.
If you are printing on sweatshirts or other thick, heavy apparel, the thickness of a nickel should be sufficient. Hence, it is crucial to ensure an even off-contract across the entire print area. This will ensure visually appealing and quality prints.
Step 3 – Ink application
In this stage, choose the appropriate ink for your substrate. Different types of inks, pigments, and dyes are used during the screen printing process. That said, make sure to apply an even amount of ink to the screen.
Step 4 – Printing process
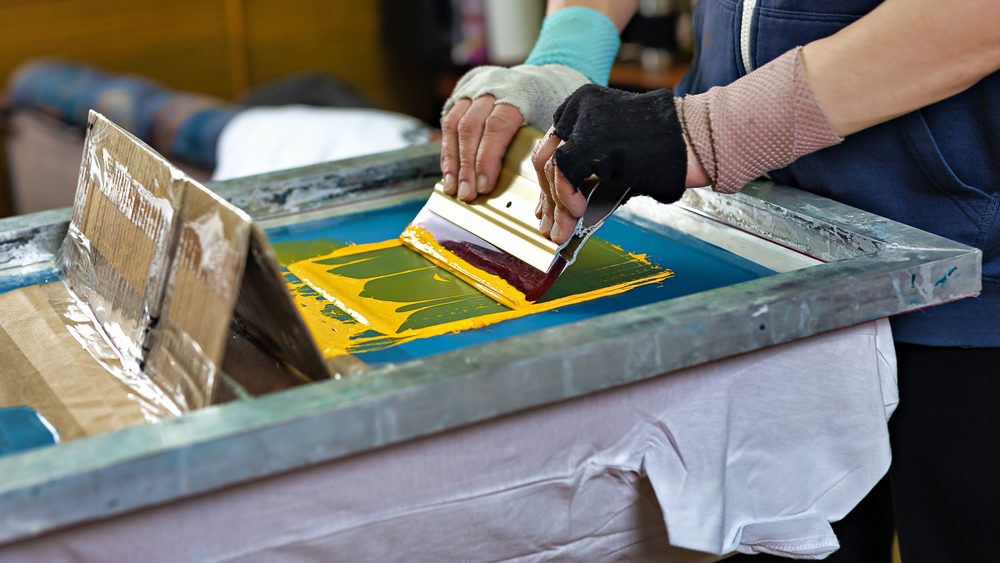
For the printing process, hold the squeegee at a 45-degree angle. Apply firm and even pressure when pulling the squeegee across the screen. Also, set the right distance or experiment with different distances to find the ideal one for your project.
Step 5 – Quality check
Once you create your first print, inspect it for clarity and consistency. You can adjust the off-contact or the ink application as needed. If the prints are inconsistent, check and adjust the off-contact distance.
Moreover, regularly clean and maintain your equipment for optimal performance. Keep in mind that uneven ink coverage may indicate issues with squeegee pressure or angle.

Conclusion
Mastering how to set off-contact screen printing is the cornerstone of elevating the printing craft. It empowers to achieve professional-grade prints with precision and confidence.
By selecting the right tools and understanding the nuances of off-contact printing, you can unlock the potential to create flawless designs. Remember to experiment and maintain your equipment regularly to perfect your printing technique.

Robert Fisher is the founder and CEO of Thrive Screen Printing and brings extensive experience in the screen printing and fulfillment industry.

