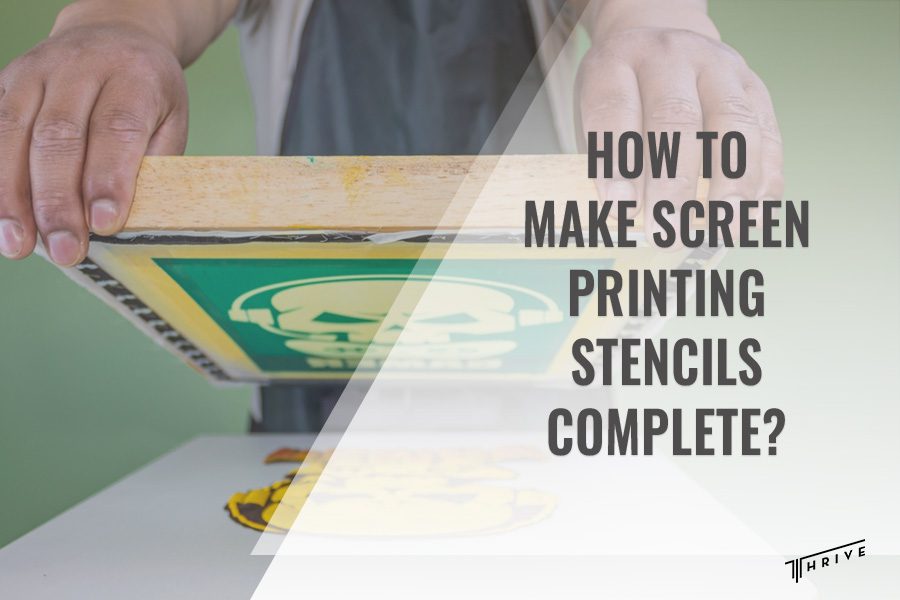
Screen printing is a flexible and creative approach to applying your design to various materials, including cloth, paper, glass, and plastics. And for this printing technique, the screen printing stencil is crucial. But do you know how to make screen printing stencils?
Whether experienced or a beginner, we’ll walk you through creating screen printing stencils, which will open up a world of creative opportunities.
Let’s begin and discover more!
How to Make Screen Printing Stencils
Screen printing stencils deliver ink on various materials with accuracy and sophistication, allowing you to easily show your creative side.
Therefore, you must choose a suitable method, like hand-cut stencils, photo emulsion stencils, and direct emulsion stencils, as well as gather the necessary tools and materials.
The first step in learning the technique of screen printing stencils is understanding these procedures. You can read more about them below, as we have provided a short overview.

Necessary equipment
You will require particular supplies and tools to begin the process like any other. For example, you will need:
- Screens: Commonly made from mesh stretched over a frame.
- Frames: Used to secure the screen during printing.
- Emulsions: Photo or direct emulsion, depending on your chosen stencil type.
- Exposure unit: For accurately exposing photo emulsion stencils.
- Squeegees: Used to push the ink through the stencil.
- Films or acetates: For making your design or pattern.
- Cutting tools: You will need scissors, craft knives, or stencil-cutting equipment.
Stencil-Making Techniques Overview
Before learning how to make screen printing stencils, you have to understand the different techniques available. Hence, we have included a brief overview of each technique.
Hand-cut stencils
Hand-cut stencils may be perfect if you are a beginner or looking for a quick and easy solution. They are inexpensive and perfect for straightforward designs.
Creating hand-cut stencils is as straightforward as it sounds. You’ll need paper, acetate, film, scissors, or a craft knife. When you have gathered everything, you should draw your design on the chosen material and precisely cut it out.
Photo emulsion stencils
Photo emulsion stencils are excellent for complex and detailed designs. Also, they are adaptable for short-term and long-term use.
To make photo emulsion stencils, you’ll need screen mesh, frames, photo emulsion, exposure unit, and a design on a transparent film.
The key steps in this method are coating the screen, exposing it to light with the film, and washing it to reveal your design.
Direct emulsion stencils
This is ideal for custom designs and limited print runs. They allow you to get creative directly on the screen. Sounds impressive, right?
This method requires applying a light-sensitive emulsion to the screen mesh. So, you create your stencil by painting or drawing your design on the coated screen.
Crafting Your Stencils With Different Methods
Hand-cut stencils
This method provides a practical, quick approach. If you opt for this one, you should choose your material, transfer your design, and carefully cut it.
So, the required steps you have to take are the following:
- Material selection: You should start by choosing your stencil material, which can be paper, acetate, or film. The choice depends on your desired level of durability.
- Design transfer: You need to sketch or print your design onto the chosen stencil material. But ensure the design is clear and represents your vision.
- Precise cutting: In this step, you have to cut along the lines of your design using sharp scissors or a craft knife. Do not rush; the accuracy of your cutting directly impacts the quality of your stencil.
- Secure attachment: Before moving on to the printing phase, ensure that your hand-cut stencil is securely attached to your screen. This attachment should be tight and free of any loose edges or gaps.
Photo emulsion stencils
This method has several phases, which include screen coatings, preparing your design with emulsion, exposing it to UV light, and then rinsing off the unexposed emulsion to reveal your stencil.
The necessary steps you must take are as follows:
- Coating with photo emulsion: First, you should begin by coating the screen with light-sensitive photo emulsion. You have to cover both sides of the screen mesh evenly. Keep in mind to maintain a consistent thickness.
- Design preparation: Next, you need to create or select your design and print it onto a transparent film or acetate. This design will serve as the template for your stencil.
- Exposure to UV light: You must place your design atop the coated screen and expose it to UV light using an exposure unit. The light-sensitive emulsion will harden where the light strikes, effectively “blocking” out the unexposed areas.
- Washing out unexposed emulsion: Lastly, you have to rinse the screen gently with water after exposure. This process removes the unexposed emulsion and reveals your stencil. Yet, be careful not to apply too much pressure if you want to preserve the stencil’s integrity.

Direct emulsion stencils
This is a subset of photo emulsion, offering creative freedom by directly painting your design onto the screen. It also provides adaptability and accuracy.
Hence, all you have to do is:
- Coating with direct emulsion: You should apply light-sensitive direct emulsion to the screen mesh. Also, ensure there is an even coat across the entire screen surface. You can use a scoop coater to apply evenly.
- Complete drying: Next, allow the emulsion to dry completely. This drying phase is crucial as it prepares the screen for your design. Keep in mind that the emulsion should be thoroughly dry to the touch.
- Design integration: Now, with the dried emulsion as your canvas, paint or draw your design directly onto the screen. You have complete flexibility here, allowing you to draw unique designs straight into the screen mesh.
- Final drying: Once your design is integrated, you have to let the screen dry once more. Proper drying ensures that your direct emulsion stencil is ready for use in the printing process. However, avoid exposing the screen to moisture during this period.
Printing With Your Stencils
Now, once you’ve created your stencils, it’s time to bring your designs to life:
- Set up your printing press.
- Prepare your ink colors.
- Carefully align your stencil and substrate.
- Use a squeegee to push the ink through the stencil onto the substrate.
- Lift the screen to reveal your printed design.
How Can You Customize Your Stencils?
If you want to take your stencil-making skills to the next level, consider these customization options:
Multiple colors
Adding multiple colors to your design can make it pop and look more dynamic. Here’s how you can do it:
- Prepare multiple stencils, each representing a different color in your design.
- Use registration marks to align the stencils accurately.
- Print each color one at a time, allowing them to dry between layers.
Gradients and fades
Gradients can add depth and dimension to your designs. You can create smooth fades by doing this:
- Design your gradient on your stencil material.
- Use an airbrush or a spray gun to apply the ink, creating a gradual transition.
Special effects
You have a chance to get creative with special effects like metallic finishes, glitter, or glow-in-the-dark elements. These effects can enhance the visibility of your designs.
So, you can do the following:
- Mix special-effect inks with your regular ink for the desired effect.
- Test the effect on a scrap piece before applying it to your final print.
Proper Cleaning and Maintaining Your Stencils
Besides knowing how to make screen printing stencils, proper care can extend the life of your stencils, saving you time and money in the long run.
Therefore, here’s how to properly maintain them:
Cleaning
After each use, you should clean your stencils thoroughly to remove ink residue. You can use a gentle solvent or emulsion remover suitable for your stencil type.
Drying
Ensure your stencils are completely dry before storing them. Remember that moisture might lead to mold or degradation.
Storage
You should store your stencils flat and away from direct sunlight, extreme temperatures, and humidity.

Useful Tips and Troubleshooting
- Try various stencil designs to see which works best for your projects.
- For photo emulsion stencils, practice the correct exposure time and methods.
- Use safety equipment when dealing with chemicals.
- Always keep your workstation well-ventilated.
Frequently Asked Questions
What can I use for screen printing stencils?
You may choose between paper, acetate, photo emulsion, and direct emulsion depending on the complexity of your design as well as the printing demands you need to meet.
How do I make my silk screen stencils?
You need to plan your design and choose the suitable material before you can create silk screen stencils. After that, you should make your stencil by hand-cutting, using photo emulsion, or utilizing direct emulsion.
How do I make a mesh screen stencil?
To make a mesh screen stencil, you must apply emulsion to a clean screen. Then, you must dry it, use UV light to expose your design and wash off the emulsion’s exposed portion to show your stencil on the mesh.
Can I use regular stencils for screen printing?
Yes, you may use regular stencils like paper or acetate for simple designs. However, we advise you to utilize photo emulsion or direct emulsion stencils for prints that are higher quality or more detailed.
If You Want to Learn More: What Do You Need for Screen Printing?
Conclusion
Well, we have provided detailed information on how to make screen printing stencils. Now, you can express your creativity by implementing different methods and crafting your stencils.
Whether you opt for hand-cut stencils, photo emulsion techniques, or the artistic freedom of direct emulsion, your path to screen printing is possibly more precise now.
With the proper knowledge, we hope you’re ready to unleash your creativity and transform blank canvases into unique designs.
Happy printing!
Robert Fisher is the founder and CEO of Thrive Screen Printing and brings extensive experience in the screen printing and fulfillment industry.

